Bush beans are a tasty and productive addition to your garden, but the main downside is leaning down to pick them day after day. This DIY elevated planter from a recycled table is just one clever (and cheap) solution of many to solve that problem!
If you’ve got a little bigger budget for this idea, you should definitely check out this awesome product below (anyone recognize the Vegepod from the show Shark Tank?) It’s got lots of great reviews and the results look very impressive so far. Currently there is even a $15-35 off coupon available at the amazon affiliate link below.

My Mom is responsible for much of my knowledge and inspiration as a gardener. From childhood until this day I love to follow her out to the garden to see how things are growing.
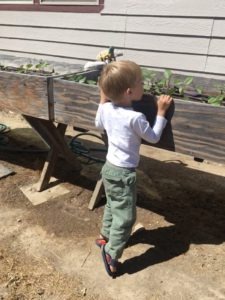
She grew a patch of bush beans in the ground for several years, but one spring I visited and found the new clever solution that she and my dad had come up with. Both of them are quite resourceful, and inspire me to re-purpose things and save money by making or doing things myself whenever possible.
My Dad has done well financially despite having learned to skimp from his childhood–or perhaps partly because of it. One of his most memorable birthdays as a kid was when his (equally resourceful) mother presented him with a bike that she had built herself from pieces she got in a scrap yard. The stories may be endless, but needless to say, I’m super proud of the resourcefulness that runs in my blood.
I hope this tutorial inspires you to create new solutions with things you’ve already got on hand.
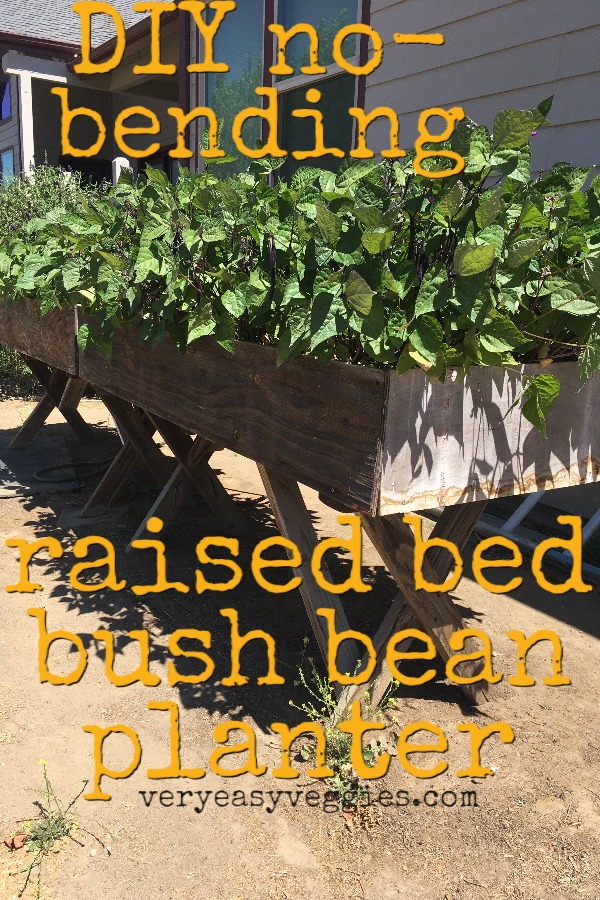
What you’ll need for your easy DIY Elevated Planter:
- An old picnic table or other outdoor table strong enough to hold the weight of water and dirt. I’ve also considered using a round table with a kiddie pool on top.
- Wood to form the sides of the DIY elevated planter (plan for 4-6” of soil or maybe more if your area is hot and dry) and screws or nails to attach them. Home Depot will even cut the wood for you if necessary.
- plastic or fabric “weed cloth” to line the bed that will allow air and excess water to pass through, but hold the soil in and prevent it from drying out too quick. You could also use a BPA free shower curtain if you prefer (poke a few holes for drainage).
- Soil mix—potting soil with fertilizer included or added is probably going to be your best bet. A little bit of extra compost would be okay to add too.
- Bean seeds—lately we have had great luck with purple varieties from Baker Creek Heirloom seeds!
- optional but great idea: a soaker hose for perfect, even watering and hose timer if you wish.
- also optional: ecowood treatment (affiliate link below)
Prepare the Table
Be sure the table you choose for the DIY elevated planter is sturdy enough to hold all the weight of soil and water. If the wood is treated or stained, it may be best to line it. If desired, paint or spray with eco wood treatment to make it soil safe and help protect it from moisture decay.
Add the sides
Measure the length and width of the table before you buy and cut the wood that will make the sides of the DIY elevated planter. Did you know that Home Depot will cut the wood for free if you ask? My parents used old plywood, but if you’re buying wood, cedar fence panels would work, like the ones I used in this project. The “raised bed” only needs to be about 6” deep. My local Home Depot sells fence pickets that are 5.5” or 7.5” wide.
If you have a round table, try using a kiddie pool. If you aren’t sure if it’s BPA free you can add a BPA shower liner.
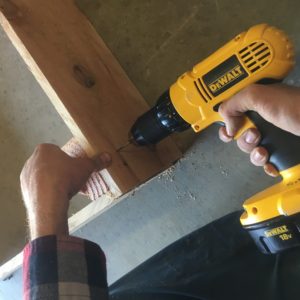
With a helper or two, hold the wood plank up in place. Use a screw every 6-12” to attach it to the table along the bottom.
If the wood you’ve chosen is thick enough, you can use screws to attach one board directly to another at the corners. If you are using fence panels or thin plywood, you may need to use another small piece of wood to attach each board corner to (see photo below).
DIY Elevated Planter Lining
Unless the planks of your picnic table are tight enough together to prevent dirt falling through, use a plastic or fabric liner on the bottom.
If your table is not planks but a flat piece of wood, drilling 6-12 drain holes is a good idea. If you don’t choose to use a liner, I suggest treating the wood with something like ecowood which is safe for your garden and will help the wood last longer.
Add the Right Soil!
After all this hard work, don’t waste your time using regular dirt from your back yard. As I’ve said in several posts before: Good soil is the most important part of your garden! For this DIY elevated planter I suggest a mix of good quality potting soil and bagged compost. You can read this post for more tips on types of soil to choose.
Watering
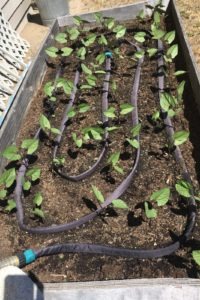
Probably the biggest challenge of growing veggies in a container or elevated planter is keeping a good moisture level without letting the soil dry out too much! Especially if you have any summer trips planned, I highly recommend adding a soaker hose and automatic hose timer. You can see how my mom has it set up below.
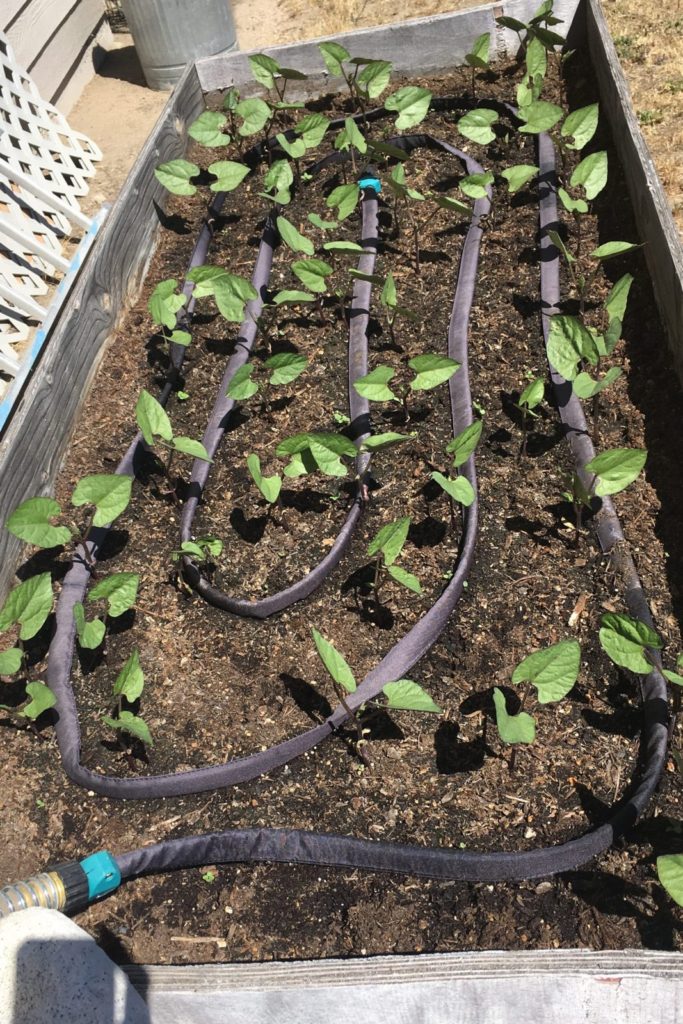
You can find my favorite soaker hose and watering timer in the affiliate links below. If you’d like to read more about how I automate my garden to make it as time-saving as possible, read this post!