Have you ever had a little seedling plant that looked so beautiful, until you transplanted it in the garden–only to find it dead the next day?? You don’t just have an unlucky brown thumb–there’s a reason it happened, and ways to prevent it!
Once you’ve figured out the right planting dates for your area, here’s the important steps you must follow to make sure your seedling survives its early days in the garden after transplanting. If this is your first garden, read this page for a beginner info on how to start a garden or this page for planning tips!

Hardening Off Before Transplanting
The main process of getting your seedlings ready and acclimated to the outdoors before transplanting is called “hardening off.” Until now, your seedlings may have been growing mostly indoors in a controlled climate. That’s why putting them straight in the garden for a full day of wind and bright, real sunlight can often shock them!
Instead, about a week before transplanting, start setting your seedlings out a little bit during the daylight each day. First try a couple hours in the shade (if it’s windy, keep them in a protected area or in a bin that has sides but no lid). The next day, try one or two hours in the sun (water them first so the sun doesn’t dry the soil too quickly!). Increase the amount of time each day, checking to make sure they’re not TOO droopy or dry, until they’re adjusted to almost a full day of sun. If you can’t be home to check on them, place them in an area where you know they’ll get a little sun but mostly shade.
If your plants are from a nursery or garden store, they’ve probably had some exposure to the sun and elements… But, it’s still not a bad idea to give them an extra day or two to get used to a full day of sun.
Weather Protection
I do my best to transition my plants to full sun as I explained above, but sometimes the weather provides shocks we can’t control! My area is known for its unpredictable spring weather, with warm sunny days and a freak snow storm in the same week sometimes. Here’s how to deal with both.
If the sun in your area is strong or your days are suddenly hotter than your plants are used to, its helpful to give your plants some temporary shade in the middle of the day for a while after you’ve planted them. Whatever you use to shade them, make sure they still get air flow (a bucket could become an oven in the sun)! A temporary shade cloth will work, or setting something next to it to provide shade, or even an upside down wire wastebasket with cardboard on only the bottom.
Sudden cold temps can be a problem too. In general I cover my new plants at night if the temps will get below 40*F. For light frosts a bucket or cloche usually works fine. But for really cold nights or snow, a “wall-o-water” like the one in the Amazon link below is the gold standard. They are like a teepee with the walls filled with water, which warms in the sun and helps insulate the inside of the teepee like a mini greenhouse. My mom uses them every year to protect her little tomato seedlings from frost and snow and they work great.

Pest Protection
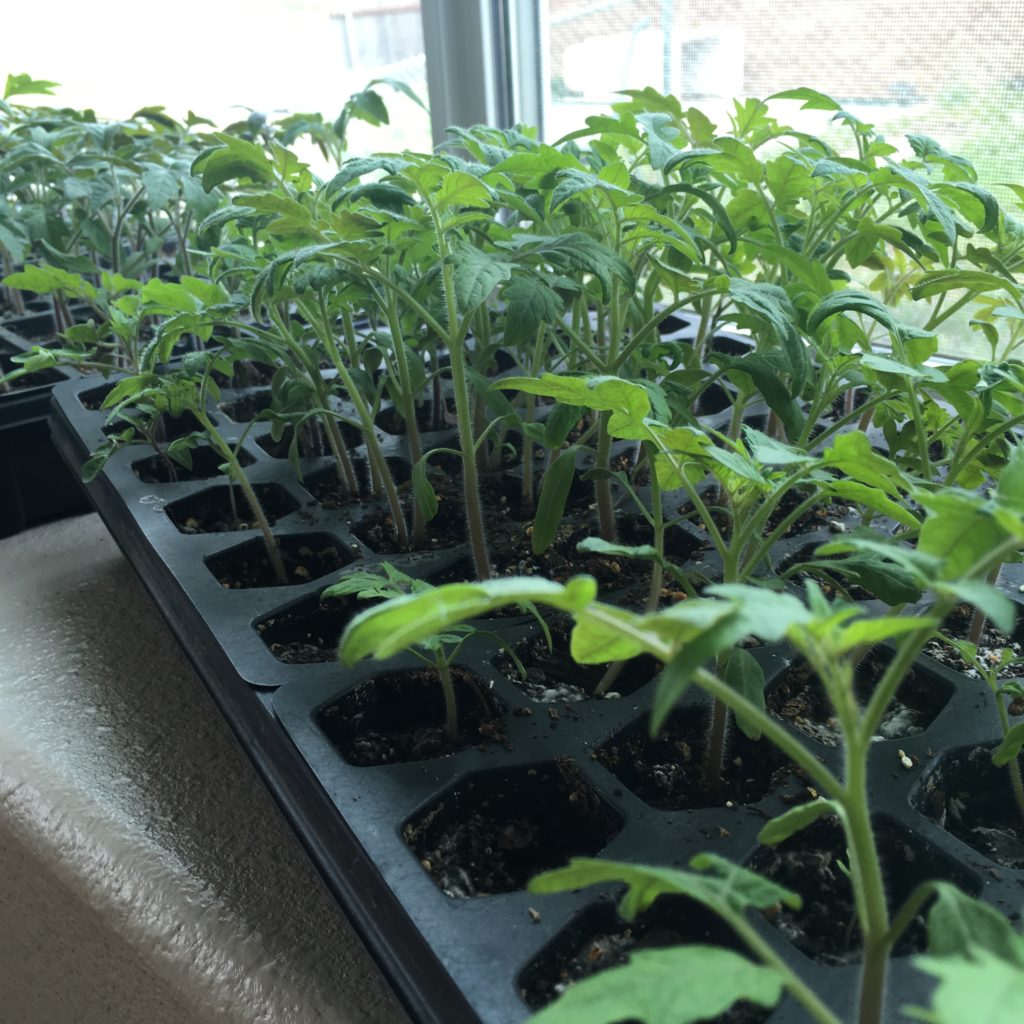
For tomatoes and upright plants, it’s probably best to let your seedling get at least five to six inches tall before transplanting. Wide plants like squash should be about the same width.
I admit sometimes I like to cheat that rule a bit, though. And one time, it came back to bite me! Or rather, a herd of sowbugs or pill bugs came out and chewed a few of my tomato seedlings to the ground. The same little bugs we affectionately called roly poly’s as kids, of all things.
So now that I’ve learned my lesson, I sprinkle some diatomaceous earth on and around my seedlings when I transplant them, especially if they’re on the smaller side. You can do the same with seeds that you plant directly in the garden—bean plants seem to be a favorite of insect pests. You can also find some other effective natural & organic pest control products that work here.
Final steps
When you remove your seedling from its plastic container, be gentle! Don’t pull on the stem first. First, give the container a gentle squeeze on the sides, and a little push from the bottom. Tilt the container to its side if needed to help the plant slide out. You can lift by the stem a little if the plant seems to have lots of roots holding the soil together (root bound). But carefully support it from the bottom also as you bring the plant to its new hole.
If it’s a tomato plant, dig the hole a little deeper and plant it so that the dirt goes a little higher up the stem. Tomatoes plants will grow extra roots out of the part of the stem that gets buried.
After you lightly pat down the fresh soil, carefully water the root area, avoiding the leaves. Dissolving a little bit of epsom salt in water for the first watering can help minimize planting shock. If you’re wondering how much you’ll need to water the plant as it grows, check out this page.